
Sutori is a broader learning platform that lets you build presentations with a wide range of options and creativity. It might take a bit more effort than Timeline JS but you will have a lot more control over the final product.
Creating an Account
- Go to sutori.com and create a free account.
Dashboard
- Your dashboard holds all your Stories.
- Click Create story.
- There is a timeline template in the Math & Science section. Click on that to begin.
Creating Your Timeline
- Sutori works by editing the sample entries, deleting what you don’t want and then eventually adding your own.
- You can edit the graphic at the top of the timeline by clicking on it and then clicking the icon in the upper right. You may need to edit the image to get it to fit well in the space.

As you scroll down the template you will see The Timeline Template
- Add the title for your timeline here
- Add a brief description

Adding Events
- With Sutori you do need to manually enter your events in order. You can insert more as you go.
- Change the first header to the first year or date that you want to include. You can edit the text, include videos, images, and links.

- Add each event — using either an image, video, link or text to provide the details. You can divide the timeline by years, or create a multimedia presentation for each event.
- Delete any of the template entries that you don’t need/want.
Sharing and Embedding Your Timeline in a WordPress Site
Just below the image for your timeline is a Share button.
- Your timeline starts out as Secret. You need to change it to Public so that it is viewable.
- You grab a link to the timeline below.
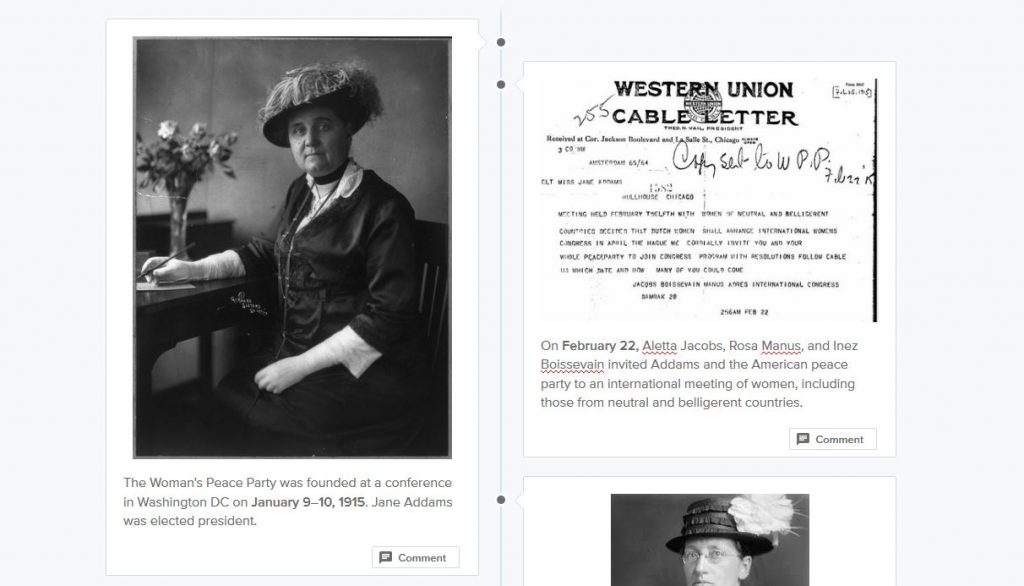
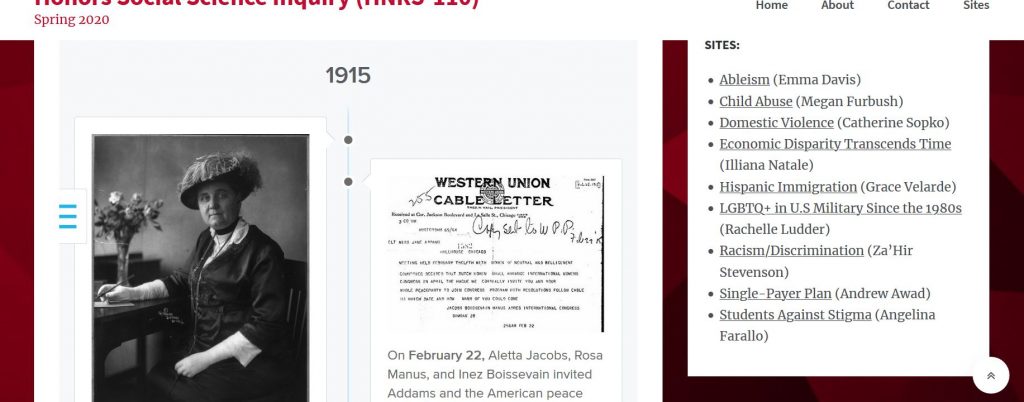
- Here is a link to the one I made: https://www.sutori.com/story/jane-addams-and-the-international-congress-of-women–D8H4gVkKXVye82JdQvBrp4Ti
To embed your timeline in your web page, use the same Share button, but click on Embed.
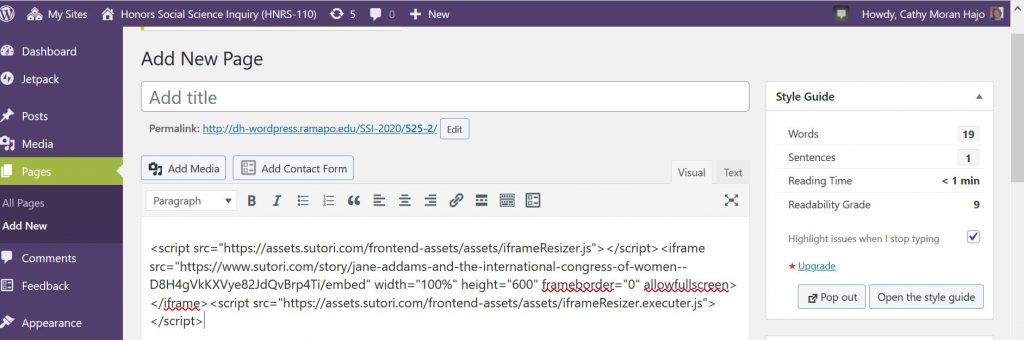
- Copy the embed code. It should look something like this: <script src=”https://assets.sutori.com/frontend-assets/assets/iframeResizer.js”></script><iframe src=”https://www.sutori.com/story/jane-addams-and-the-international-congress-of-women–D8H4gVkKXVye82JdQvBrp4Ti/embed” width=”100%” height=”600″ frameborder=”0″ allowfullscreen></iframe><script src=”https://assets.sutori.com/frontend-assets/assets/iframeResizer.executer.js”></script>
- Open the page or post on your WordPress Site where you want to place the timeline. Use the Text editing tab for this task.
Paste the text into the page.
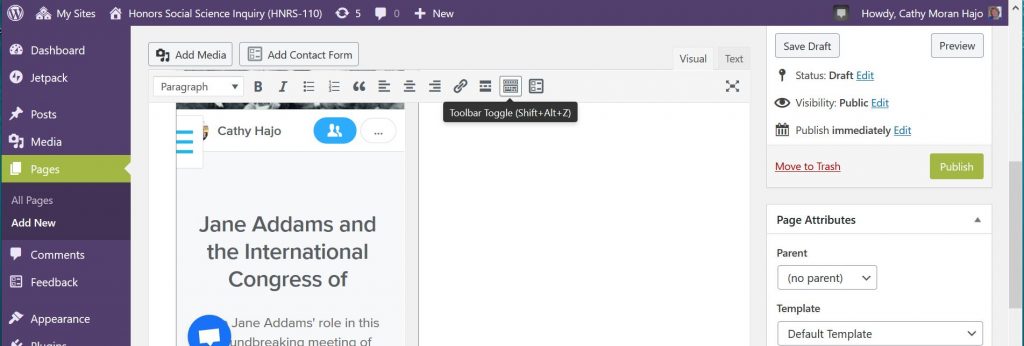
Then click on the Visual Editor tab to see what it looks like.
Then Preview the page to see what it will look like on your website. It may take a second to load and does carry Sutori branding. But it works!
If you need to edit the timeline, work in Sutori, and all edits should be automatically updated.