
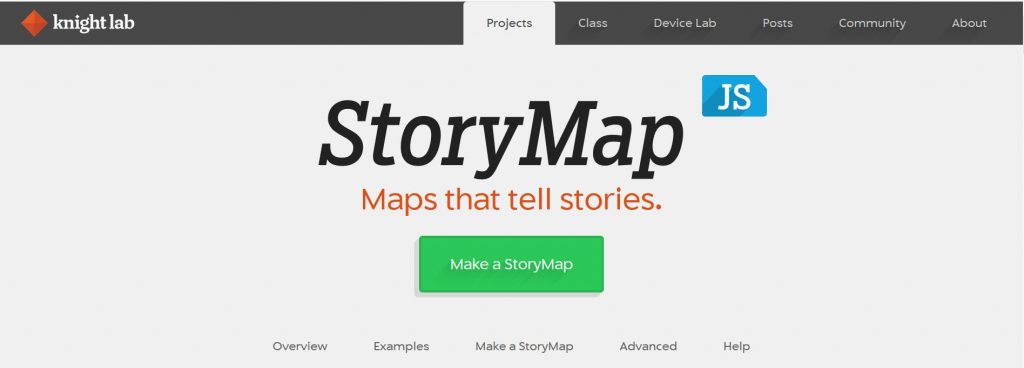
StoryMapJS is a free tool from KnightLab at Northwestern University. It uses a map interface to tell a narrative story. It can be a time-based story, where you take a timeline and add a geographical component, or it can be a story about the different places that things have happened. In order to create a StoryMap, you’ll need three things:
- Geographic points – It can be a street address, or a town or city name. You may have to conduct a bit of research to determine the location for each event.
- Images – You must include photographs or other images to make the story come alive. You can upload the photos from your computer directly to StoryMap or you can link to URLs on the web.
- A story to tell. Stories are boiled down into meaningful events, organized and then told in a more narrative form.
Creating a Story Map
- Navigate to https://storymap.knightlab.com/
- Click on “Make a StoryMap”
- Sign in to your Google account.
- Click on the green “New button” to create your first StoryMap
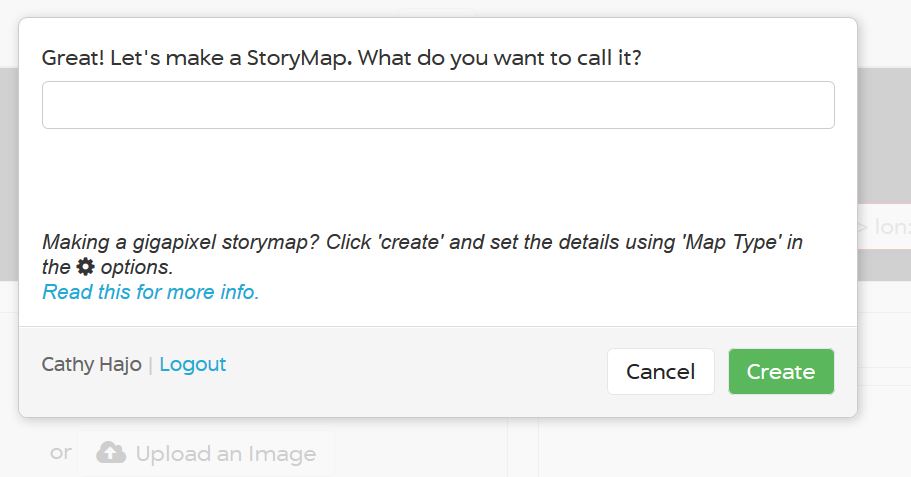
- Name your StoryMap and press the “Create” button.
- You will see the StoryMap workspace.
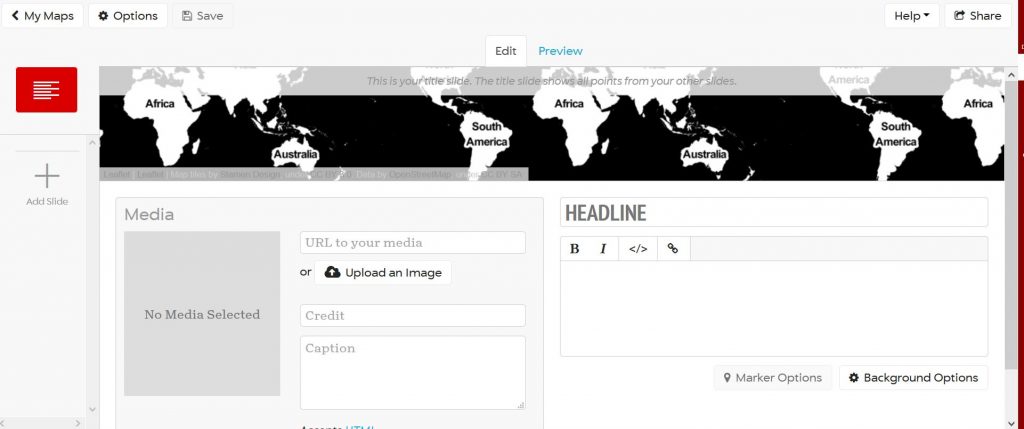
- The first page is your title page and will show all the map points in the StoryMap.
- Add text in the headline and the body that introduces your narrative.
- Add an image (upload or via a URL) and give it a caption/credit.
Adding Slides
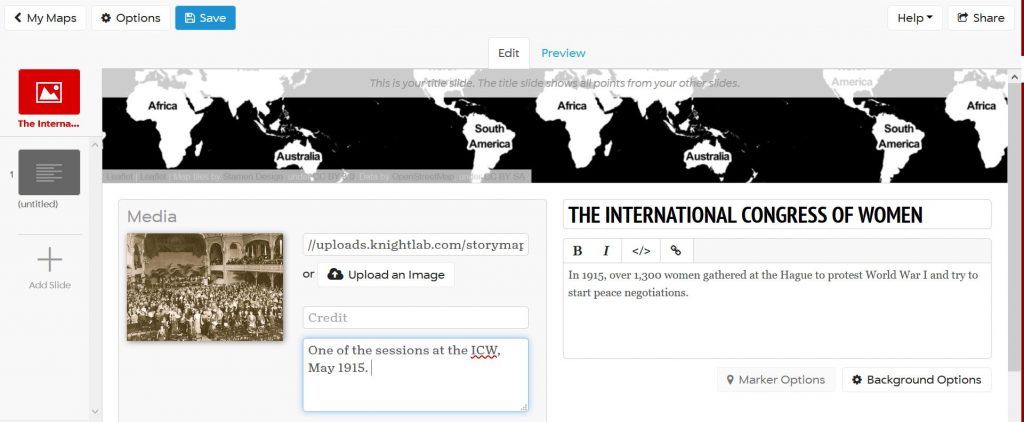
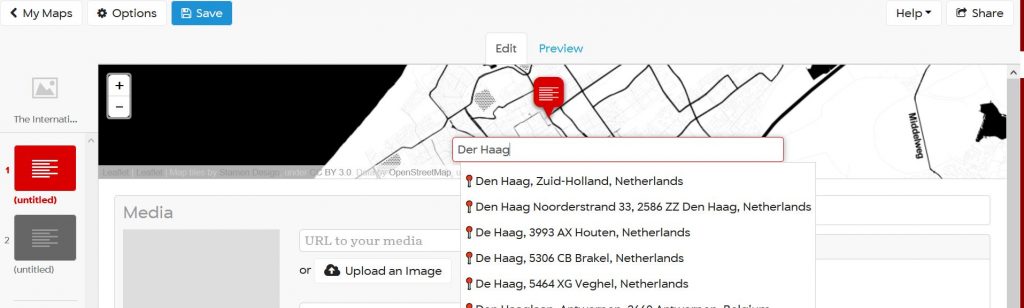
StoryMap calls the pages in your narrative Slides. On the left hand you can see the slides in the presentation. You can create new ones by pressing the + Add Slide button. Once you have created them you can rearrange them by dragging and dropping them. Slides are almost the same as your title page, but they include a map feature. The underlying search is a Google Map one, so you can put in a city, address, place name, etc. You should see your map zoom in on the place and put down a marker.
- Add your headline and text.
- Add another image. Note you can also link to videos or audio if you have a URL link
- Add more slides as needed.
Save and Publish
At the top of the screen on the left is a Save button. Use it!
If you have already saved your StoryMap and are editing it, you will be prompted to Publish Changes. Do that when you are ready to embed your StoryMap.
Preview, Customize, and Share Your StoryMap
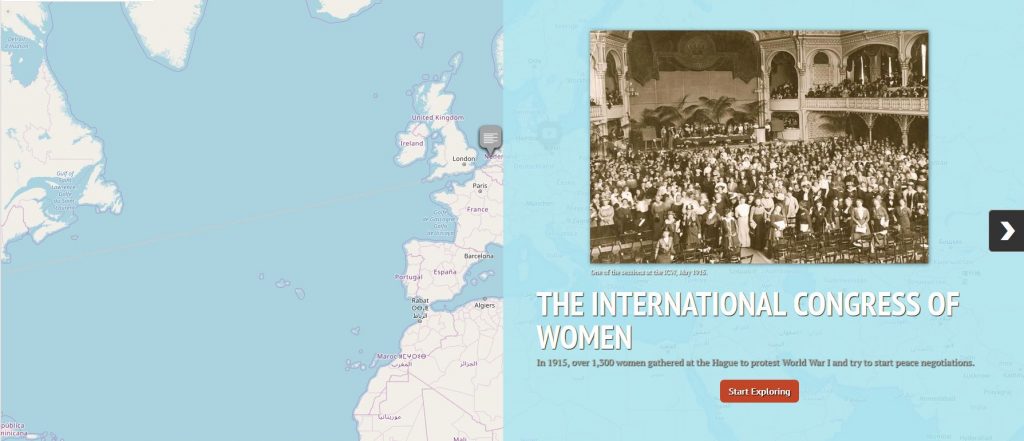
- Click the Preview button at the top of the StoryMap to see how it will look. Here is an example: https://storymap.knightlab.com/edit/?id=international-congress-of-women-in-1915
To customize
- You can change some things with the Options button at the top of the screen
- You can change the fonts.
- You can adjust the size of the story map
- You can change the default “start exploring” start point
- You can change the map style used.
- You can also change some options at the page level. Click on the Background Options button beneath the text box.
- Change the background color of the page using the Hex Color Code.
- Include an image as the background of that page.
To embed your StoryMapJS on your website, click the Share button at the top right. At the bottom of the pop-up window is an embed code. Copy that text.
- Go to your WordPress site and open the page you want the StoryMap to appear on.
- Use the Text Tab, not the default Visual Tab.
- Paste the embed code and then switch to the Visual Tab.
- You should see the StoryMap.
- Click Preview to see how it will look on your site.
- If you want to make changes later, edit the StoryMap itself, the embed will automatically be updated.